10 Steps to prepare camping gear for summer

It feels good to get to a destination, set up your tent, and relax. Camping gear mishaps like missing tent parts or clogged water filters can delay this process, seriously impacting your mood and even making you have to head home early. Prevent these issues by thoroughly checking your gear before the camping season starts! Here are ten steps to get ready.
1. Locate everything and take inventory
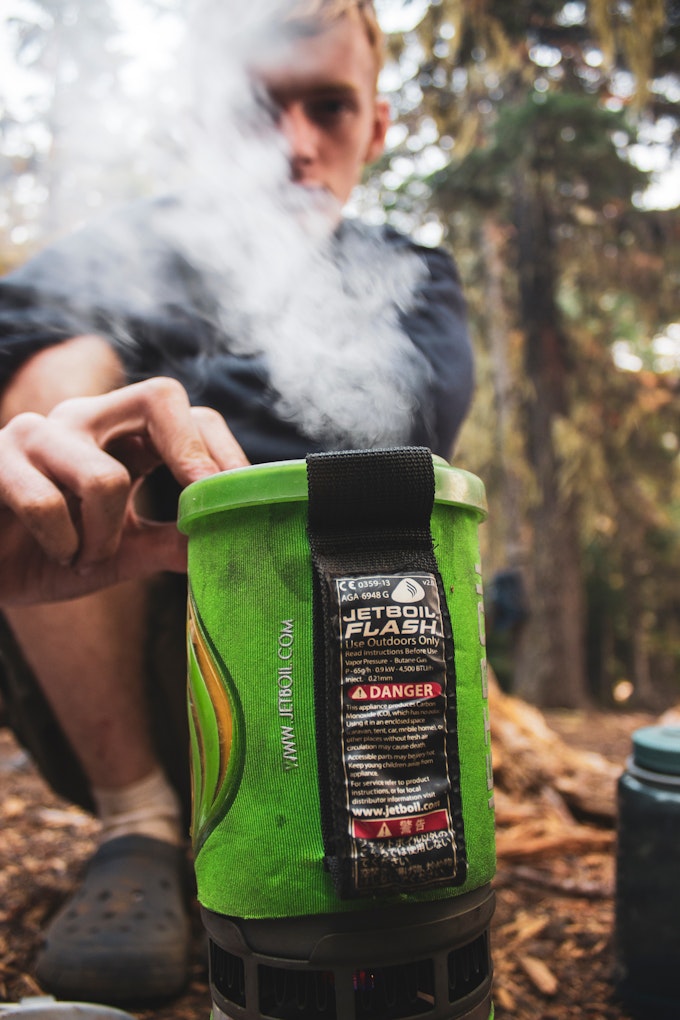
From one trip to the next, it’s easy to lose sight of gear! Go through any storage areas from closets to garages and self-storage units to locate all the camping gear you'll need. Round up tents, sleeping bags, sleeping pads, cookware, backpacks, water filters, dehydrated food, navigation tools, journals, guidebooks, first aid kits, and anything else you may need. It's easy to prepare all this gear when it's in one place.
2. Go over clothing and shoes
Try on camping clothing like rain gear, base layers, socks, and hiking boots. Make note of anything that doesn’t fit or needs repair. Donate items you won't use or don't fit. Use patches to treat fabric rips and check pre-season sales and secondhand sellers for pieces you need to upgrade. Remember: You don't have to have all the top-of-the-line gear to get out there. So long as you have footwear and clothes that fit and keep you warm and dry, you're set!

3. Purchase refills
Fill up refillable gas canisters and buy things you’re out of like bug spray and sunscreen. Check your inventory of dehydrated, pre-packaged meals and snacks and purchase enough for your next trip.
4. Clean your water filter
If you will use a water filter this season, follow the manufacturer’s instructions to backflush the device and remove contaminants that can cause clogs. This simple step will ensure you can easily filter water on the go. It's much faster and less frustrating to clean a filter with access to a sink than to try to do it with stream water when you're in the wild.
5. Check your first aid kit
Think back to the last couple of camping trips you took or the times you used your gear. Did you have an injury that required gauze and tape? Maybe a friend needed moleskin and antibiotic cream to treat a blister. Replace supplies to ensure you’re prepared the next time you need them. If you carry medications, make sure the ones you have are not expired and resupply any that are old or running low.
This is also a great time to sign up for a wilderness first aid class to brush up on the basics. You can learn important skills like how to splint a broken leg or how to assess whether someone is hypothermic or dehydrated. There are also mental health wilderness first aid classes that teach students about fight or flight instincts, what to do if you're having a panic attack, and how to assess whether someone needs to be evacuated from a backcountry situation.
6. Assess your tech
Gather electronics like headlamps and lanterns. Look inside the battery areas for corrosion or leaked battery acid. Use a soft cloth to wipe the area down before inserting new batteries and testing the device. If it works, keep it. If not, consider getting a new one. Stash some extra batteries with the electronics so you remember to bring them on your next trip. Keep charging cords paired with their devices so it's easy to make sure they're charged immediately before leaving for an adventure. If you forget which charger goes with each device, wrap a 6-inch piece of painter's tape around the cord so it sticks out like a flag. Use a marker to write which device it will charge.

7. Put up your tent
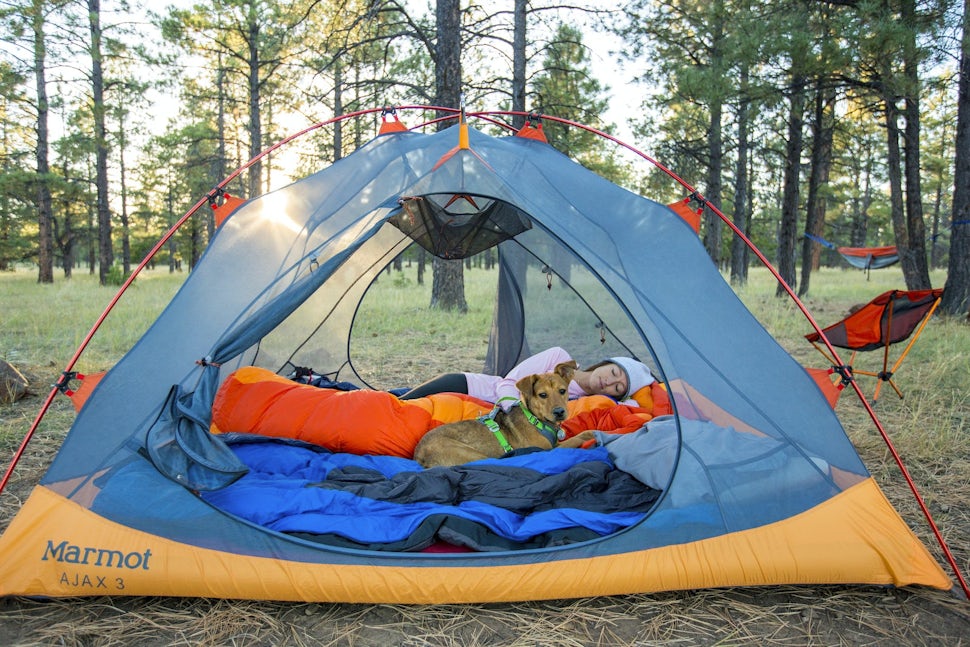
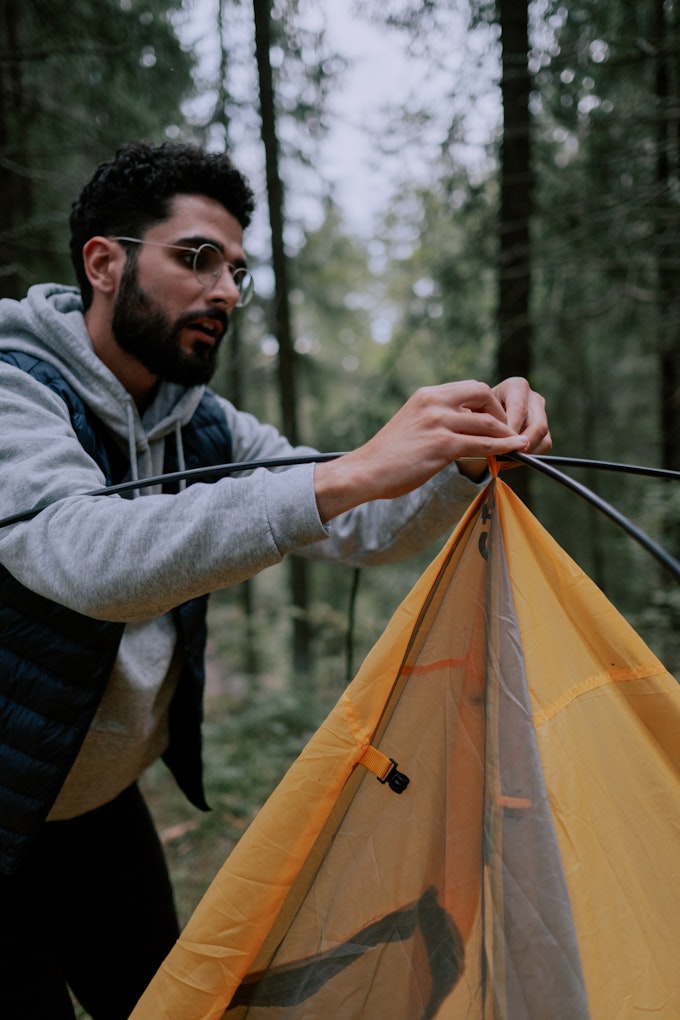
Tents often get damaged in transit. It’s critical to check that they’re in top shape before heading out as they may have incurred rips or broken poles when you stashed them in storage the last time.Put up the tent! Count the stakes and ensure there's plenty of guylines in the stake bag or attached to the tent to ensure you can secure it to the ground. Are the poles straight? Do they click together? If the interior bungee cord is no longer taught, it will be much more difficult to put the tent together. You can restring the bungee with new cord if your old cord is loose and no longer holding the poles together. Not keen on this DIY? Send your poles off to a repair shop to let the experts handle it. Inspect any mesh parts like vents and doors. This material rips easily, but it’s also easy to repair with a patch kit! You can apply adhesive mesh to holes or hand sew a few stitches to repair small rips.
8. Apply waterproofing treatment
Many “waterproof” and “water repellent” materials require regular treatment to ensure they’re truly waterproof or water repellent. Check with the manufacturers of your tent and rain gear to learn their care recommendations.
There are many treatment options, but wash-in products can be the easiest. Measure out a specific amount of the liquid and add it to the washing machine. Toss in the items you want to waterproof and you’re good to go! Follow the directions on the wash-in product on how long to dry the items and whether to air- or machine dry them.
For waterproofing items like shoes, leather, and packs, consider using a rub-on wax-based waterproofing treatment. These options will repel water until they wear off.
Consider using solar treatment spray-on mixes that contain additives to prevent sun damage and fading on your tent. They work best when sprayed directly on a tent that is set up because it's easiest to apply the product evenly and the tent will dry better this way.
9. Use insect repellent treatment
You can prevent bugs from biting you and reduce the number of insects near you with a few simple steps. First, identify what bugs you may encounter. If you’re in grassy areas with wildlife like deer, you’ll likely be around wood and deer ticks. Those headed near water, like camping on a lake's shoreline, will likely experience mosquitoes.
Consider treating some of your gear with permethrin to avoid these common bugs. This insect-killing repellent is available in a pump spray bottle, making it easy to soak clothing, tents, shoes, and backpacks thoroughly. Always spray outdoors and leave the items to dry for several hours.
This product is toxic to cats, so keep any feline friends far away! Once applied, there is no smell, and your gear won’t feel any different. One permethrin application is good for several washes, but expect to reapply if you wear your treated clothing and shoes regularly.

10. Blow up your air mattress
Inflatable camping pads are useless if they don't hold air. Every year, blow up your mattress and let it sit overnight several weeks before you'll need it. The next morning, check whether it has lost air. If the pressure difference is minimal, you’re good to go! Remember that changing temperatures will affect inflation, so colder temps will make the air thinner and the mattress appears less blown up.
If the mattress deflates or is significantly low, it’s time to check for a leak. Fill your bathtub with an inch or two of water and re-inflate the mattress. Use mild dish soap to suds up the entire mattress. Set the mattress on the water and gently press downward to increase the air pressure.
Move the mattress around so different parts of it touch the water. Watch for bubbles indicating the part with the hole is in the water. Once you find the hole, mark it and rinse the rest of the suds off.
Once the mattress dries, apply a mattress patch. These adhesive materials create a seal so the mattress will hold air. Consider keeping a patch or two with you whenever you use the air mattress so you’re prepared for anything on trail!
Follow these tips and you'll be much more prepared for your first trip of the season! Next, it's time for mapping, permits, and menu planning!
We want to acknowledge and thank the past, present, and future generations of all Native Nations and Indigenous Peoples whose ancestral lands we travel, explore, and play on. Always practice Leave No Trace ethics on your adventures and follow local regulations. Please explore responsibly!
Do you love the outdoors?
Yep, us too. That's why we send you the best local adventures, stories, and expert advice, right to your inbox.


